Char Kueh (Fried Turnip Cake)
Did the title of this post catch your attention? If so, I am almost certain that like me, you are missing this childhood favorite and was trying to find a recipe to satisfy your cravings.
Well, fear not! I’ve done the recipe testing for you. The version of Char Kueh I am making is the Kuching styled version. I find that it is more solid and chewy in comparison to the ones you find in Singapore or Penang. We also don’t include spring onions or beansprouts when frying it. Most of the recipes I found was more closely aligned to this style. So, whats a Kuchingnite who is overseas supposed to do? Make my own of course!
I tried to up the nutrition level by using as much Daikon radish as possible in this recipe. At the very least, I wanted there to be a decent amount of nutrition in it as opposed to empty calories with a ton of flour and water. I guess this makes it the real McCoy in that it is a true radish cake. Of course, if you wanted to do so, you could get away with just using the flour and water to get a solid rice cake to fry.
Not going to lie, it takes a long time to make. Over two days in fact; unless you start very early in the day. The end result however is completely worth it and your stomach will thank you for the meal.
Char Kueh (Fried Turnip Cake)
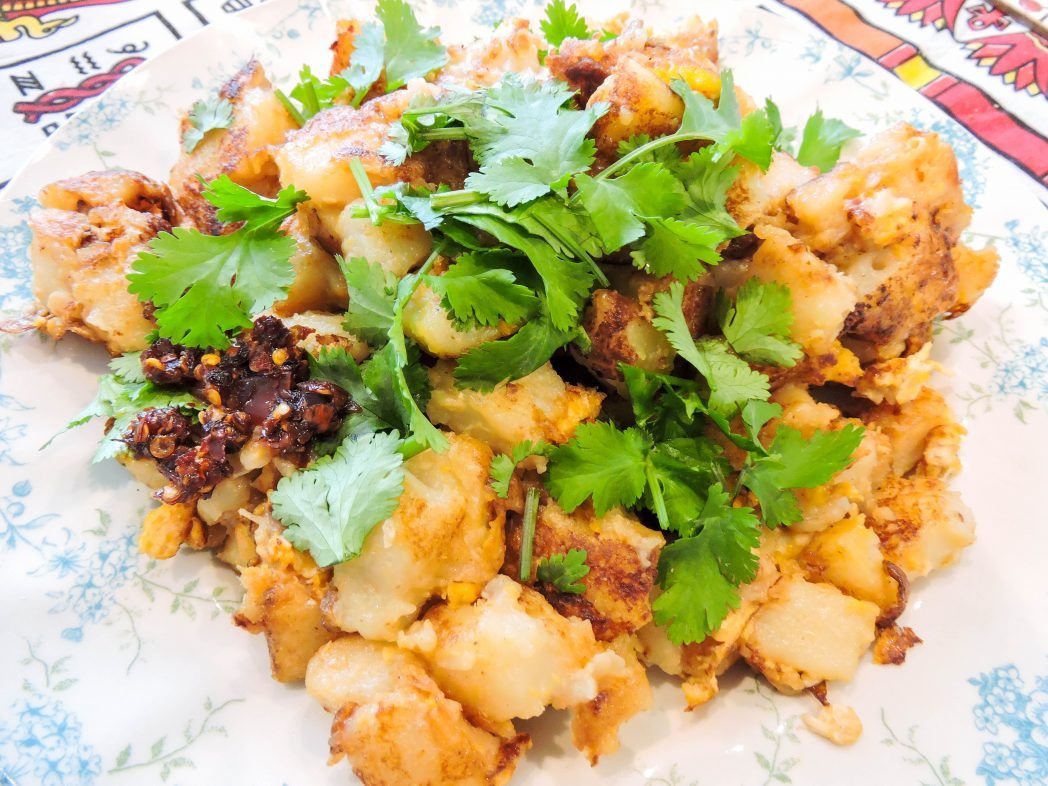
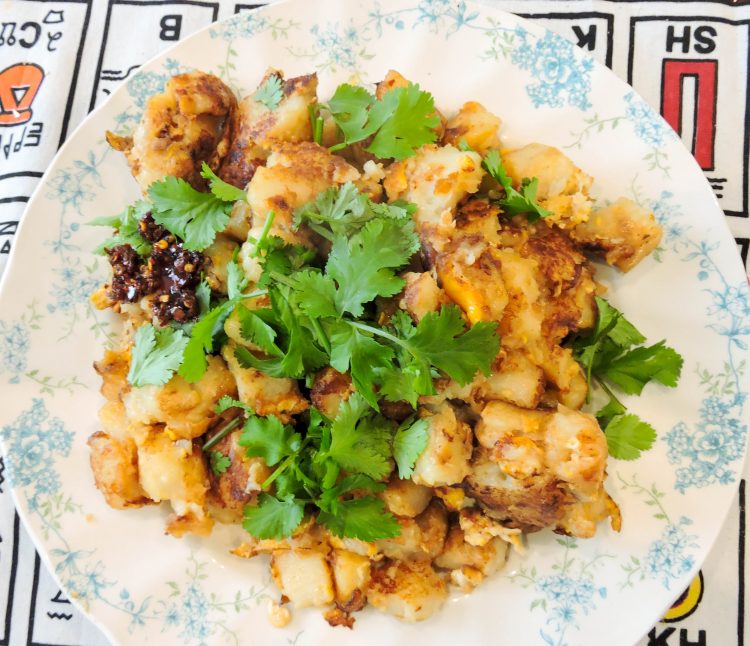
Kuching style fried Char Kueh, a nostalgic taste of home packed with flavour. Commonly eaten as a breakfast or supper dish. Best eaten with a side of chilli oil.
Ingredients
2 cups finely grated Daikon radish (white turnip) or 1 medium sized Daikon radish
1 cup Rice flour
1/4 cup Tapioca flour
1/4 teaspoon Salt (and more for seasoning)
250 ml turnip juice / water
2 tablespoon Preserved turnip
3 cloves Garlic
2 Eggs
1/2 tablespoon Fish sauce
1.5 tablespoon Light soy sauce
Cooking oil
White pepper
Coriander or Spring Onion (optional)
Directions
- Making the turnip cake
- Finely grate the radish into a heatproof bowl. You may get more than 2 cups of grated radish. So measure it out before steaming if you want to be exact. Otherwise, just used the whole medium radish.
- Steam the finely grated radish for about 40 minutes, or until translucent.
- Remove the steamed radish and allow it to cool completely.
- When the steamed radish is cooled, extract all the juices from it. You can use a cheese cloth or sieve for this step. You will need 250ml of juice. If there is not enough, simply add water to reach 250 ml.
- In a separate bowl, combine the rice flour, tapioca flour and salt. Mix these together.
- Add turnip juice to the flour mixture, stir till smooth.
- When the mixture is smooth, add in the grated radish and mix it evenly until it resembles a watery coleslaw.
- Oil your steaming tray or plate of choice generously to prevent sticking.
- Pour your watery coleslaw mix into the oiled tray and smooth it out.
- Steam the mix for 45 minutes or so. You will know that the cake is ready when it the mixture goes from a pure white to a more translucent state. It will also be pretty solid, slightly sticky and somewhat bouncy.
- When the cake is ready, remove it from the pan and let it cool to room temperature before refrigerating it overnight. If you are eager to have it within the day, then what you want it for the cake to firm up completely before it will be ready to fry.
- Frying the turnip cake
- Mince the garlic and preserved turnip.
- Remove cake from the fridge.
- Oil your knife of choice generously – you may need to do this a few times while cutting the cake.
- Use a silicone spatula or any flexible tool to assist with removing the cake from its tray.
- Slice the cake lengthwise and then horizontally to create cube shaped like pieces. The size of the pieces are up to you but I recommend pieces no bigger a dice.
- Heat up a pan on high with oil.
- Stir fry the minced garlic and preserved turnip until fragrant.
- Add in all the turnip cake and evenly spread it out.
- When it starts to char (about halfway through the frying process), create a well in the center.
- Add eggs into the well and break it up slightly.
- Add soy sauce and fish sauce to the eggs and mixed this all through the turnip cake.
- Continue frying while pressing and turning the cake every so often in order to get an evenly charred layer. You may need to add oil to the pan to prevent sticking.
- When you get an evenly charred crust layer and the cake is easily turned, it is ready.
- Plate it up and garnish to your liking.
- Enjoy!
Recipe Video
Notes
- Choose a nice young radish. Mature radishes have a stronger smell and taste. If you are using a more mature radish, avoid using the tops.
- You want to use a shallow tin, tray or plate for steaming the cake. If it is too thick, it will take longer to steam and may result in a cake that isn’t cooked evenly.
- Use a flat an wide pan to fry the cake. This helps to ensure an even char as you can evenly spread out the cake.
- Do not skip the preserved turnip! It is a key ingredient to this dish. If you find it too salty, wash and soak the turnip before mincing it.
- You may want to cling wrap your chopping board before cutting the cake to make cleaning up easier.
- To make the sweet version, omit the light soy sauce and replace with a sweet soy sauce.
Phew. That was a tad long isn’t it. Don’t worry though, this makes two very generous portions so your stomach will definitely be full! You might even have some left over for another meal. I have yet to experiment refrigerating the cake for an extended period as it has never lasted that long in my house… It should be possible though!
I hope the video that I filmed helps understand the process a bit more. It may seem complex at first glance but really, it isn’t ! The steps are simple but patience and time is needed to make this dish.
Oh, if you have someone who is sensitive to smells at home, make sure you make this on a day where you can air out the house. The smell of pure steamed radish is quite strong.
I really hope you guys enjoy this recipe and try it out. It truly is worth it. I can’t wait to see all your dishes so remember to share your creations with me!